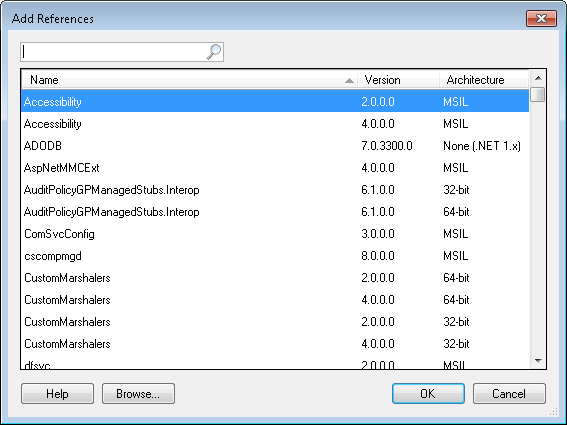
Add References
The Add References dialog box lets you add assembly references to the scripts you write in the Script and SDK Script activities.
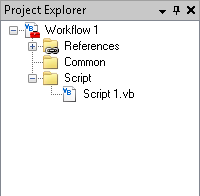
- Open the Script Editor's
 Project Explorer Pane.
 - Right-click the folder, and select Add Reference.
-
Add References dialog box, select a reference from the list of assemblies on your Workflow Server machine. The assemblies listed here include:
- .NET assemblies located in the Global Assembly Cache (GAC), including LFSO interop assemblies. The availability of these assemblies depends on the Scripting security settings in the Workflow Administration Console.
- Custom assemblies listed in the Custom Activities node of the Workflow Administration Console.
- Optional: Search for an assembly using the search box (at the top of the dialog box) or click Browse to browse for a file on the Workflow Server. The version listed next to the reference is the assembly version.
- After selecting a reference, click OK.
- In the Project Explorer Pane, you can view the details about a reference (such as the version and its location) by expanding the References folder, right-clicking a reference, and selecting Details.
- If your reference has a warning icon
 , the Workflow Designer cannot resolve it. Learn more about resolving references for the Workflow Designer and Workflow Server.
Tip: If the Project Explorer Pane is closed, you can open the pane by selecting View from the main menu and selecting Project Explorer. Alternatively, use the keyboard shortcut CTRL+SHIFT+P.
This list does not include references that are already listed in your script project.
Note: This list will only refresh if you close and re-open the Script Editor.
Note: You must have file browsing enabled in the Workflow Administration Console to browse for a file on the Workflow Server.
Note: The References folder only allows assembly references to be added and removed. You cannot create or move script files in this folder.
Tip: After resolving references, ensure all your references can be resolved by the Workflow Server as well.